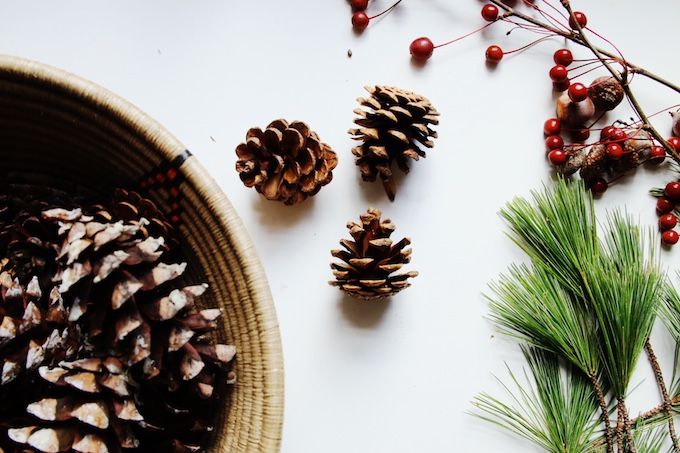
Easy Eco-Inspired Holiday Decorations
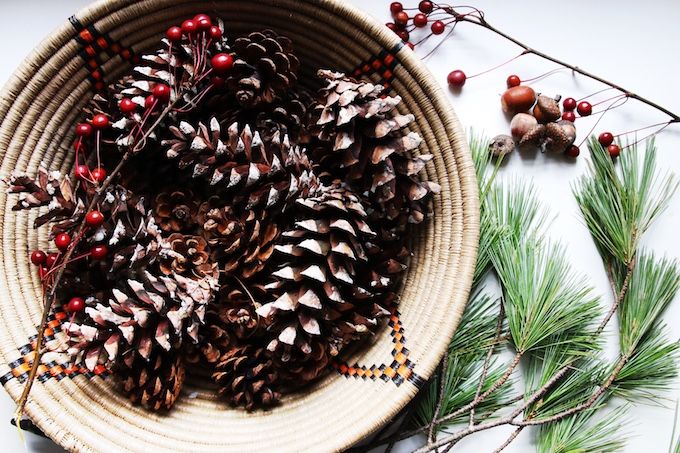
When it comes time to decorate your home for the holidays, if the impersonal and cheaply-made holiday trimmings available at your local big box store leave you feeling less than inspired, you’re not the only one. The holidays are personal, a time when we gather with friends and family to celebrate what we hold dear and to honor traditions, it’s natural to want to feel a connection to the special items you decorate your home with during this time! If you’ve been wanting to update your holiday decorations but not wanting to stoop to the pre-made plastic baubles at the store, look no further than right outside your front door. As she always does, Mother Nature provides almost everything you need to add a festive holiday touch to your home in the most natural and beautiful ways possible. Not only are branches, pinecones and acorns an eco-friendly way to decorate your tree and table for the holidays, in most cases, these decorations are reusable for years to come, as long as you pack them up carefully! Read on for a few simple tips on how to decorate your home the eco-inspired way, no plastic in sight!
Gilded Acorn Ornaments
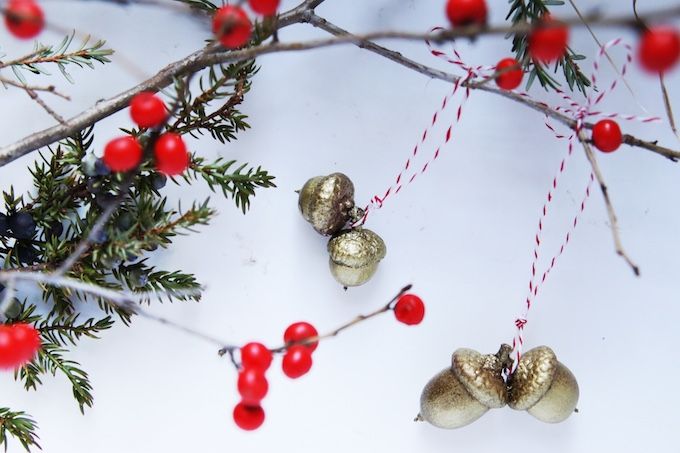
Before the first snow flies, acorns often litter the ground after their autumnal descent from tree to earth. These tiny gifts from oak trees offer the perfect base for handmade ornaments, all you need is some superglue, baker’s twine and gold paint to make them shine. Gather a few the next time you’re out for a stroll in the park or forest, and with about 10 minutes to spare you’ll have a group of handcrafted ornaments for your tree or home (tip: they also make striking present toppers).
Materials:
Acorns (groups of two work best)
Superglue
Baker’s twine
Optional: Metallic paint + paintbrush
Step 1: Gently remove the caps from the acorns. Place a small amount of superglue in the acorn cap and replace the bottom back into the cap to bring the acorn back together. Hold in place until glue sets. Repeat this step with all the acorns. This will ensure your acorns don’t separate top from bottom when they eventually dry.
Step 2: In a well-ventilated area, use the paintbrush and metallic paint to paint each acorn. Allow to dry.
Step 3: Cut an 8-inch piece of baker’s twine and loop it through the doubled-acorn stems, or tie it to the single acorn stem. Make a knot at the top and hang from a tree, wreath or branches! Done!
Wild-Foraged Door Swag
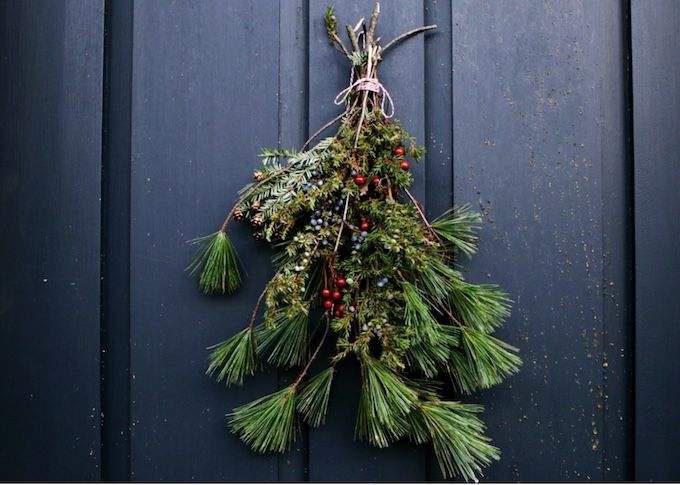
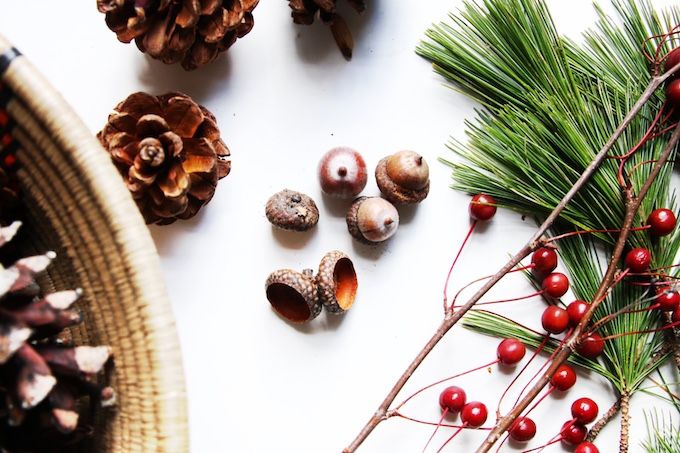
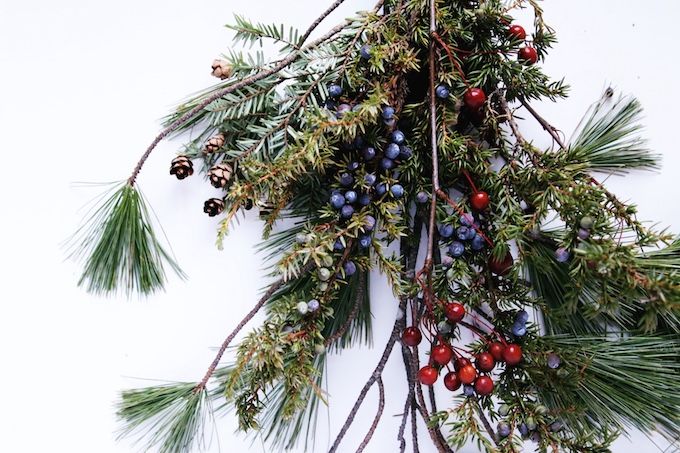
Forget the traditional wreath, a door swag crafted from wild-foraged branches, berries, twigs and grasses makes a stunning impression and requires little effort. When possible, try to forage already fallen branches to minimize environmental impact. In fact, many tree lots will give you branches they’ve trimmed from holiday trees for free if you ask nicely! This swag is lovely for the season, but it won’t store well. Be sure to compost it after the holidays are through.
Materials:
Trimmed branches (pine, balsam, spruce, etc.)
Wild berries on twigs (don’t eat!)
Baker’s twine, jute rope or festive ribbon
Step 1: Trim the branches to about 10-20-inches long, depending on how large you plan to make your door swag.
Step 2: Place some pine branches down as your base, then begin to layer different types of branches atop the pine. Experiment to find the look you like best!
Step 3: Use a length of baker’s twine to wrap the top of the sticks together securely (you may need to wrap the twine around several times). Make a knot in the back, then create a loop from which to hang the swag.
To hang: Place a nail or pushpin at the center of your door, then hang the loop you created with the twine from the nail or tack.
Pinecone Table Toppers
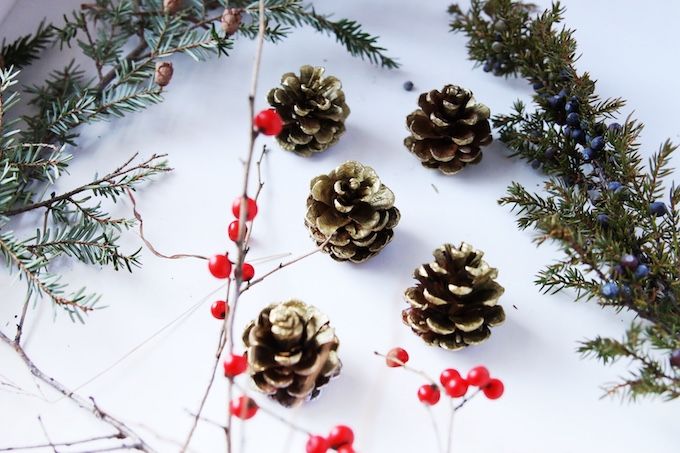
Like acorns, small pinecones are incredibly versatile in their holiday decor possibilities! Ornaments, tree-trimmings, garlands and gift toppers are just a few of the ways you can use these lovely little gifts from nature, and with a coat of paint, they become even more eye-catching. The best part? With careful keeping, pinecone ornaments can last for years. Just be sure to pack them up securely at the end of the holiday season to enjoy them for years to come!
Materials:
Small pinecones
Metallic paint
Paintbrush
Optional: Wire or baker’s twine to create ornaments
Step 1: Brush away any debris on the pinecones.
Step 2: In a well ventilated area, use the paintbrush and metallic paint to brush an even layer of paint onto the pinecones. Allow to dry. You can use the finished pinecones to decorate your tabletop or move on to the next (optional) step:
Step 3: To make ornaments, fasten a loop of baker’s twine or wire to the flat top of the pinecones. Loop around branches to hang. Enjoy!
